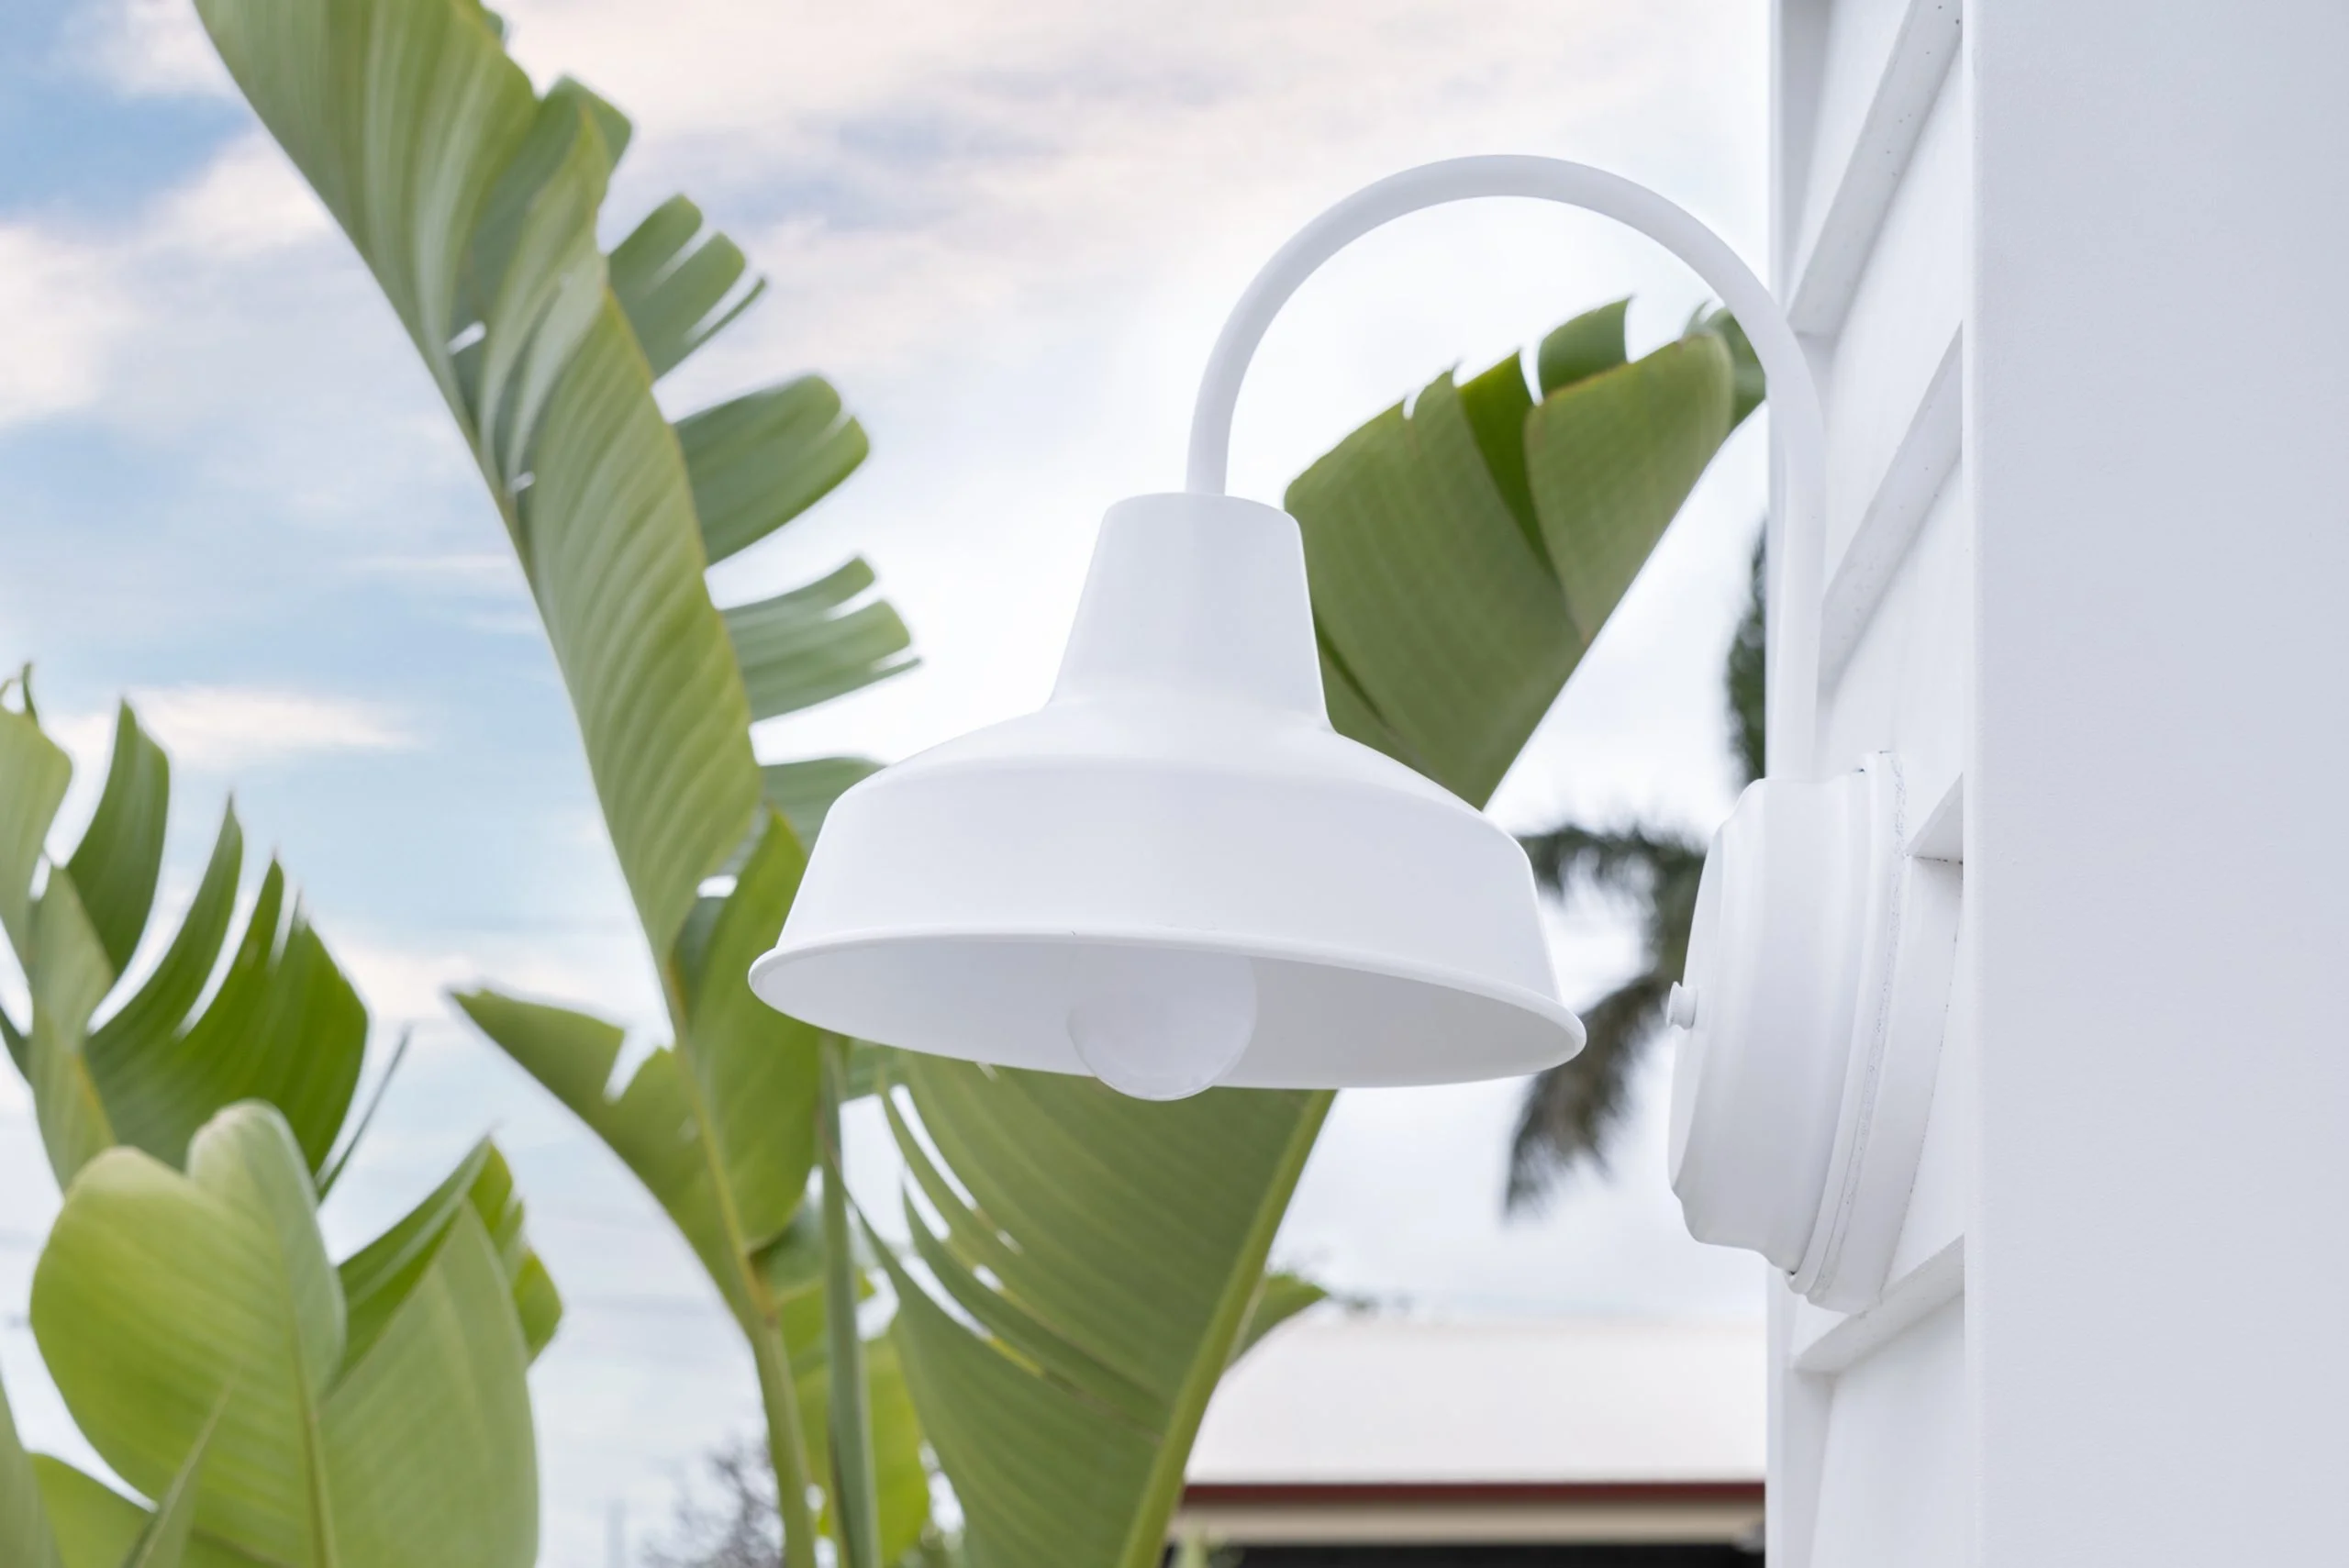
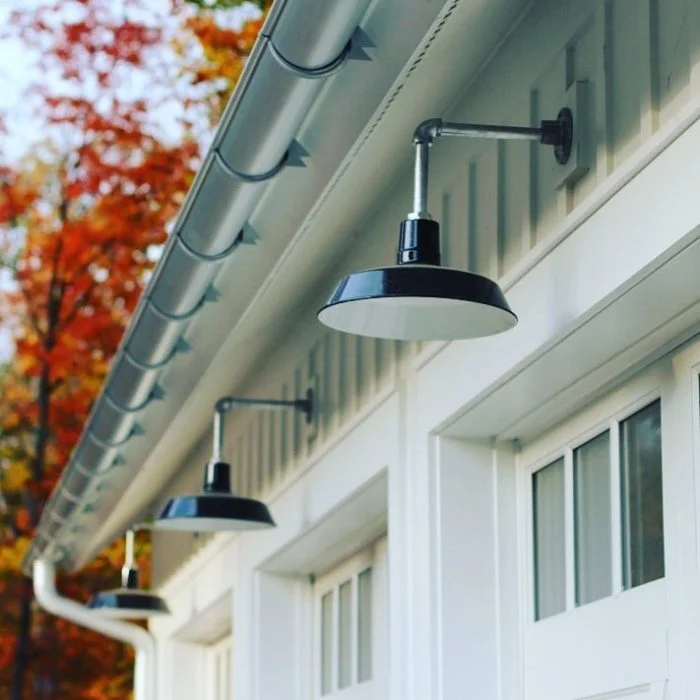
Do you want to install Barn Lights on your home but not sure how to mount them? We are here to help! No matter what light or surface you may have, we have a solution to help you intall your dream lights.
Mounting Methods & Materials
BRICKWORK / RENDER / CONCRETE
Existing Electrical / Replacements / Uneven Surfaces
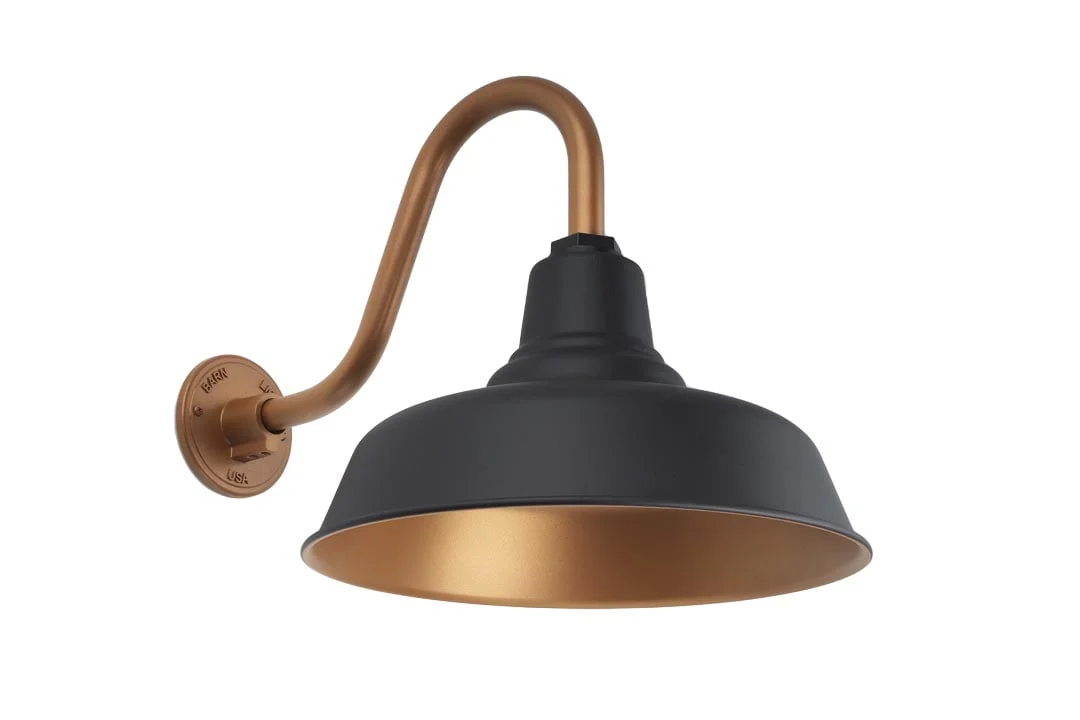
Replacing the existing light should be a quick turn-around. For a Gooseneck Wall Light, all electrical terminations need to be completed recessed into the structure. Brickwork makes this mounting either easy or difficult based on the existing hole to cover or remediate. If it appears difficult, read on for our Heavy Duty Wall Backing Plate.
To aid installation, Barn Light supplies an “Adaptor Bracket” as part of our installation kit – Designed to permit the mounting of our lights without interacting with the wall mounting surface. This means the better you can reinforce the wall, the better (and longer) our Barn Lights will illuminate your space.
If there is not enough existing/native mounting to affix the adaptor bracket to, you can affix the Adaptor Bracket any method of fixing so long as the two outer-hole screws remain clear, and the screw heads does not protrude excessively.
You'll need these threaded holes to affix the Wall Backing Plate later to the Adaptor Bracket.
Our Wall Fixing Options for Brickwork Installs


New Brickwork Installations
Installing a Wall Backing Plate (WBP) on brickwork is an easy, two-step process.
- Drill two holes into the brickwork (approximately 89mm apart) using a standard 6mm masonry bit. Aesthetically we believe horizontally looks best!
- Insert the appropriate fixings (such as wall plugs).
You need only wire and affix your wall backing plate using your desired fixing screw through the Wall Backing Plate into the mounting surface, and you’re done!
The installation process only takes minutes and will leave you with the perfect look for your outdoor space. It’s important to make sure that you have all the correct tools before you begin – the job will be much simpler if you do! Following the installation guide included in your order (copies are on the website), you can brighten up any area with your new Barn Lights.

Conduit Installations
Installing a Wall Backing Plate (WBP) on brickwork is an easy, two-step process with existing electrical, however our Heavy-Duty Wall Backing Plate (HD-WBP) offers an external electrical termination which means you can easily connect your Barn Lights to existing conduits without the need for additional tools or supplies.
We can provide a single 20mm or 25mm Hole at different orientations prior to powdercoating ensuring a sleek finish. Where-ever possible, we attempt to keep the wall backing plate horizontal, however certain conduit entries may require the wall backing plate to be rotated to suit. Please consult your electrician on the conduit size that they require.

ZINCALUME / CORREGATED IRON / LYSAGHT / STRATCO

Corregated Mounting Blocks
An unfortunate reality, corregated sheets don’t offer much in way of support for items as large as our Gooseneck Barn Lights. To provide a simple explanation, corregated steel panels are measured using “BMT” – Base Metal Thickness, a typical size being “42 BMT” – 0.42mm (yes, millimeters) thick – strong yes, against the wind, environment, and stray bird, but not for lighting.
Placing a large Barn Light on these materials without re-inforcing is literally asking for trouble by affixing two screws into a thin material, with the ability for wind to pickup (parachute), the excessive stress upon these corregated materials will lead to issues a few years down the track. That said, this isn’t our first rodeo, thus we’ve got solutions for you.
Two solutions
- Reinforcing the material from behind the structure (where possible).
- A third-party supplied mounting solution – Corromount.
Reinforcing
Using our “Adaptor Bracket” – You can reinforce the mounting surface behind the corrugated panels. The Adaptor Bracket should be securely mounted to the wall or column using either self-drilling screws (not supplied) or utilising the tapped screw holes on the Adaptor Bracket itself. This provides an small level of security and stability to the Barn Light mount, preventing movement should be a priority as high winds will exaberate the surface over-time.
Using a secondary medium/brace – Where possible, mounting a piece of steel or timber behind the corregated panels as a brace before using the adaptor bracket – This method increases the base load whilst also providing a level of improvement where spanning multiple sheets. Brackets should be used for larger Barn Lights to ensure even weight distribution and minimal stress on the mounting surface and/or preferrably using Self-Tapped Metal Thread Screws into a media behind the sheets.
Most material suppliers will recommend an internal brace prior to considering any external fixing methods.
Corro Plate Mounts
The supply of a standard 150mm x 150mm Corromount Block (Additional Cost) will greatly assist in spreading the physical load upon your corregated mounting sheets, enabling a higher weight loading. The further the projection from the structure, the higher the weighted load incurred by these panels. We like to use these panels as they offer an extra level of protection, can be easily installed for example using rivets or affixed using self-drilling “Tek Screws”.
The main benefit is a highly secure mounting, ability to silicon the unit completely closed and where necessary, permit modifications (ie. changing lights) after installation has occured.

Sureset Mounting Blocks
An outdoor rated plastic alternative, cheaper in construction and price.
The main benefit is a highly secure mounting, ability to silicon the unit completely closed and where necessary, permit modifications (ie. changing lights) after installation has occured.

Cutting into ZincAlume is not what Electricians get up in the morning for. $15 buys you some level of saving knowing the Electrician doesn’t spend all their time trying to mount your new Barn Light.
Not only does cutting Corregated expose the inner sheet to the elements, it also reduces the structural integrity of the whole sheet. Finding the studs/beams/supports always creates their own set of issues so the best method really is adding a packing block similar to Corromounts. Ideal for indoor locations where wind isn’t a factor, the mounting blocks themselves are rather small and won’t make themselves visible for our Gooseneck Barn Lights (or Small Wall Lights) and disappear when using our Cottage/Farmhouse Lighting Range (making them float basically).
Whilst not the most ideal method, it does work. Ensure the product is reinforced like our prior suggestions.
What do we suggest?
A mixture of both. Anytime you use Corregated Sheets for holding weight – it needs to be reinforced. By re-inforcing the back part of the wall using a brace method, you are putting less stress on the panels, whilst spreading the load using a Corromount product to ensure it doesn’t simply “Fall Off”. The costs can be minimal compared to remediation in the event that any freak (lets, be honest – more common) weather event that causes damage.
Queenslander / Weatherboard / James Hardie


Yes – Queenslanders & Weatherboards are always a fussy problem without a competent chippy or builder available. Rarely is it within an Electricians repertoire to start ripping off weatherboards to install lighting, but that’s quite literally not their job so to save some work – You’ve got two options.
- Create a negative using existing weatherboards or a block – Your electrician may call this a “packer” resulting in a flat surface.
- Purchase a ready-made solution such as Sureset Weather Board Mounting Blocks or “Stackable Weatherboard Packers”
Benefits & Cons
The Sureset Plastic is on a fixed angle, however is manufactured from hard plastic enabling a better fit in some situations. The size “Just fits” our Standard Wall Backing Plate products. Our 140mm Cottage/Farmhouse
| PRODUCT | Wall Backing Plates | Cottage/Farmhouse | Static / Streamline |
| Sureset | [su_icon icon=”icon: check” color=”#9CAF88″ text_color=”#202020″]”Just Fits” [/su_icon] | [su_icon icon=”icon: check” color=”#9CAF88″ text_color=”#202020″]Our product comes with its own backing plate, so covers the entire packer[/su_icon] | [su_icon icon=”icon: cross” color=”#9CAF88″ text_color=”#202020“]Insufficient Area to affix to.[/su_icon] |
| “145mm Packer | [su_icon icon=”icon: check” color=”#9CAF88″ text_color=”#202020“]Might appear a touch unsightly unless painted[/su_icon] | [su_icon icon=”icon: check” color=”#9CAF88″ text_color=”#202020“]Perfect Fit [/su_icon] | [su_icon icon=”icon: check” color=”#9CAF88″ text_color=”#202020“]Perfect Fit [/su_icon] |
| PRODUCT | Strengths | Weaknesses | Consideration |
| Sureset |
|
|
Ideal for our smaller product like Small Wall Lights & Cottage/Farmhouse Lights. Not ideal for larger goosenecks or heavier mounted items such as Atomic/Caged products with outstretched gooseneck arms. |
| “145mm Packer” |
|
|
Ideal for Goosenecks where the packers have been installed, however affixed directly to weatherboards for strength. Ideal for Streamline/Static Installations that cover multiple weatherboards. |